


This is an article on how to add new liveries to the DiRT3 game.
DISCLAIMER: The following methods involve altering game files which could potentially stop Dirt 3 from working or cause it to have issues working. Therefore I take no responsibilty if you try these methods and something goes wrong. However many people have used these methods sucessfully without issues. ALWAYS BACKUP YOUR DATABASE before making any changes to it.
There are 2 different methods to add liveries, overwriting an original livery or editing the database and adding the new livery as an additional livery that you can choose in game.
The first method is only able to be used with the original cars that come with the game and NOT with the cars from the DLC packs.
The second method can be used with any car and MUST be used for the cars from the DLC packs. Note: You must have the DLC pack to be able to use the DLC cars, also liveries added this way will not be able to used online and leaderboard times will not be updated when used.
I highly recommend downloading Ryders PSSG Editor from my Tools page to view the livery files that you download and also the game liveries you might replace.
Method 1:
Browse through My Computer to your Dirt 3 game installation folder. This can be located in C:\Program Files\Codemasters\dirt 3\ or C:\Program Files\Steam\Steamapps\common\dirt3\ for steam users.
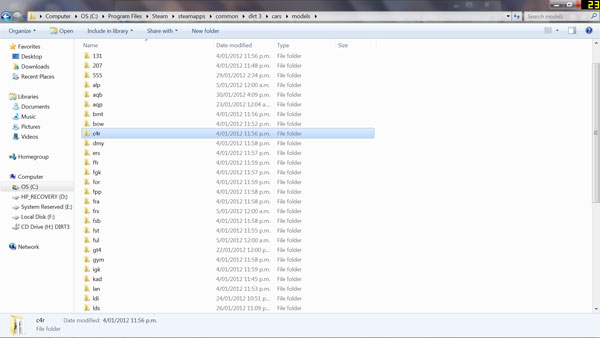
Browse to the Cars folder then "Models" folder. Here you will see the list folders of cars that come with the game using the designation code as the folder name, c4r is the Citoen C4 for example.
You can find a list of which code is which car here: Car Designation Codes
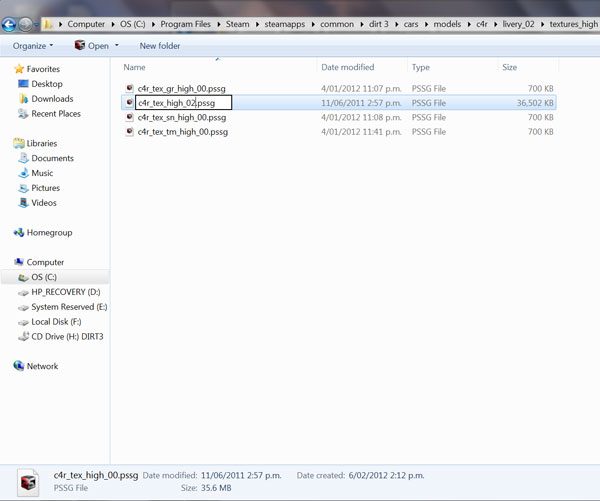
Find the folder of the car you are going to modify and choose a livery to over write. The folder of the livery will be labelled livery_00, livery_01 etc. Inside the livery folder is another two folders called textures_high and textures_low. Most custom liveries only include textures_high which are the hi-res files. Back up the folders/files for textures_high (and low if required), then download the livery you want to use and extract the contents of it in place of the original files. Make sure you change the file names of the custom livery to the same as the livery you are replacing i.e. c4r_tex_high_00.pssg to replace the file in the \c4r\livery_00\textures_high\ folder.
And thats it! you're ready to go, just select whichever livery you replaced in-game and you're away!
Method 2:
This method has similar steps to Method 1 but instead of overwriting an existing livery, we create a new folder with new files in it and then edit the game database to make the game see the extra livery.
You will need to use Ryders Database Editor and Bennys D3 Modder tool which you can download from my Tools page, as well as a livery for a car that you can use, either downloaded or created.
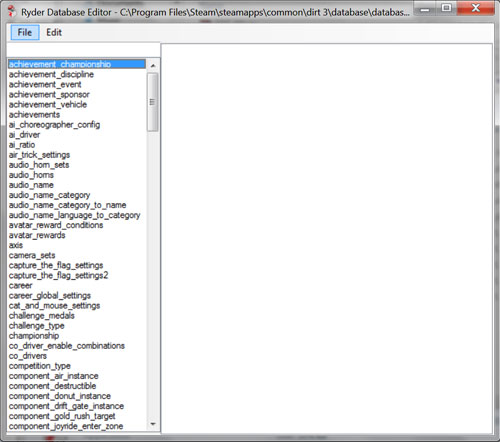
Locate your database.bin in the Database folder of your DiRT3 installation directory, and make a copy of it as a backup. Now open up Ryders Database Editor and click File then Open, browse to your Database folder and open your database.bin file, then go to File and Export As XML. Save it in your Database folder.
Now open up Benny's D3 Modder Tool and click Open XML. Locate your Database folder in the popup window and open database_schema.xsd, and then open the database.xml we just exported from Ryders Database Editor.

Here we can add a new livery, so click on the Add Livery button at the bottom and a window will pop up to fill out the details. In here you just need to select the Car you are adding a livery for, then type a Name the livery (its best to pick something unique) and select a Driver Suit. Make note of the name you gave it (all spaces will be replaced by underscores) as this will be useful later for giving it a custom name in the game, and also the File string it has been given. There is no need to change anything else here except for when adding cme escort liveries, the File string needs to be cme_06 or higher. Then just click on Add and the entry is created.

Just click on Save and overwrite your database.xml file, then exit Benny's Modder Tool.
Now open up Ryders Database Editor again and click File then Import As XML then locate and open the database.xml in your Database folder. Click File then Save, locate the database.bin in your Database folder and overwrite it.
This should have sucessfully edited the database so the game now has the extra livery, we just need to set up the files now. So browse to the DiRT3 installation folder and go to Cars folder then Models folder and find the folder of designation code for the car you are adding a livery to. This is the three letter/number code found in the File string we gathered from Bennys D3 Modder Tool, or you can find the code for the car on this page here: Car Designation Codes. If the folder for the car you are modding does not exist then it is a DLC car and a folder needs to be created. So create a new folder called the three letter/number code for your car and we will work with that.
Go into the folder and if it is a non DLC car, you will see the livery folders called livery_00, livery_01 etc. We need to create a new folder called livery_xx, xx being the number on the end of the File String we gathered earlier e.g. livery_02. Then go into this folder and create another folder called textures_high, this is where we will put our livery files.
Extract your downloaded livery files into this folder and rename all of the files numbers to suit the livery number we are using (the number of the folder or number on the end of the File string gathered earlier).
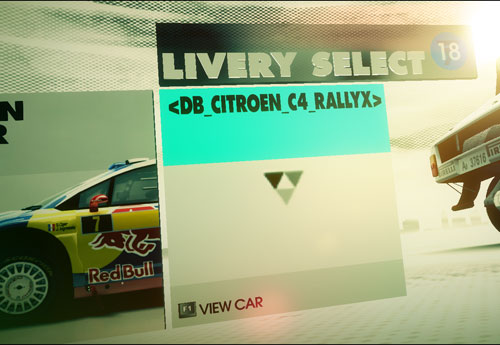
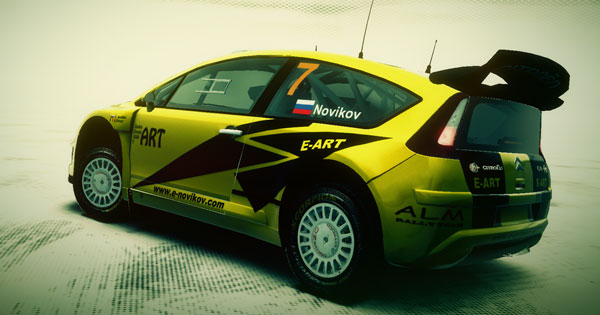
Once all files are renamed properly you are ready to to try out your new livery! If eveything went to plan you will see the new livery name show up as an option for the car in the game and be able to use the livery. Take note of the Livery Name between the < and > as this can be changed in the language files following this guide: Naming Custom Liveries
Also the image for the custom livery can added by following this guide: Adding Custom Car Tiles
Thanks to rydikulos for this information, to Ryder25 and Miek for Ryders Database Editor and to Benny33 for Benny's D3 Modder Tool.